In this post we will review the email account configuration settings in Outlook 2010 in full details. You can also read another one of our posts on Outlook 2010 Email Signatures.
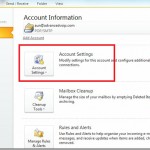
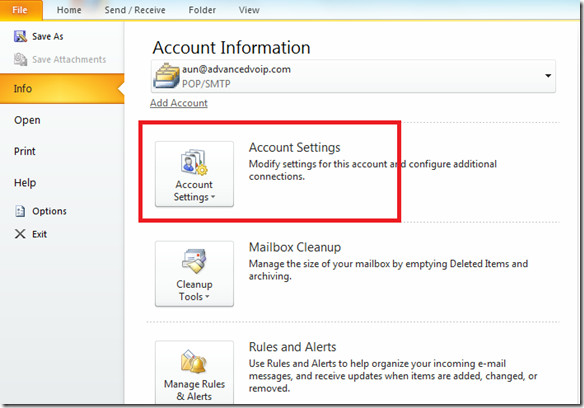
Once you have successfully configured an email account in Outlook 2010 and want to view the account’s settings or properties, then here are the simple steps you can follow. In Outlook 2007, the account settings could be launched from the Tools > Account Settings option, while in Outlook 2010, you simply hit the Office button(or File) and click the Account Settings button.
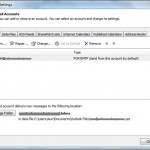
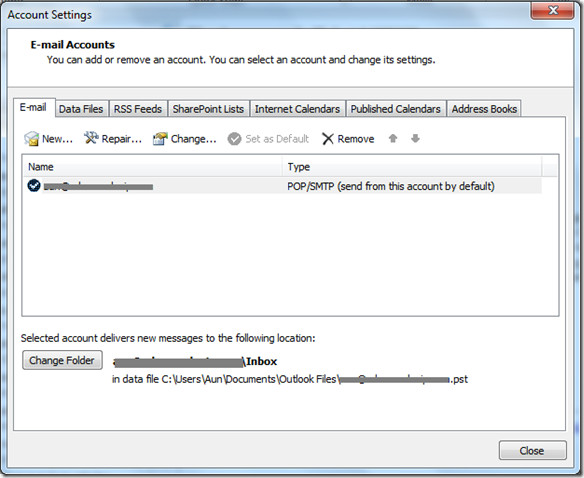
It will display the Account Settings window with Email tab open, if you have configured multiple accounts then all of them will be listed here. You will see the tabbed interface here, by clicking any particular tab you will see its relevant settings for the selected account.
Under the tabs, you will see plenty of useful options, the New option lets you configure a new email account, the Repair option is used to repair the Outlook 2010 settings (you often need to perform this operation if your email repository size is in GB’s), the Change option lets you modify the settings of any particular email account. If you have configured multiple accounts in Outlook 2010 then you can set any particular account as your default by selecting that account and hitting the Set as Default option. The Remove option deletes any particular email account.
At the bottom of the above displayed window, you will see the path of the data file. This data file is used to restore your emails, in the case of any disaster situation.
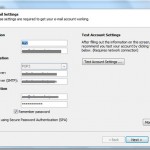
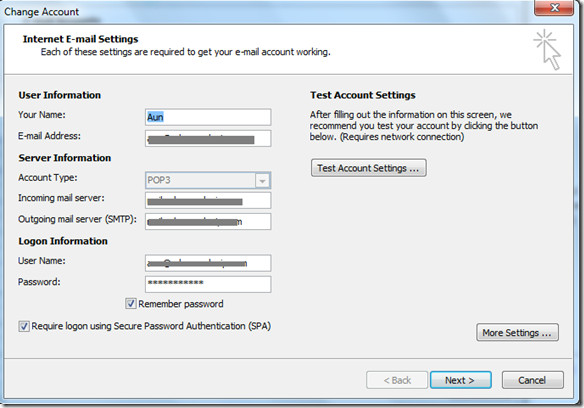
Lets explore more into the Email settings, hit the Change button and it will launch the wizard from where you can view/modify your configured email account settings. At the very first step, you will see User Information, Server Information (Server Type, Incoming and Outgoing Server) and Logon Information( Email account and password).
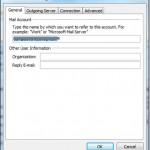
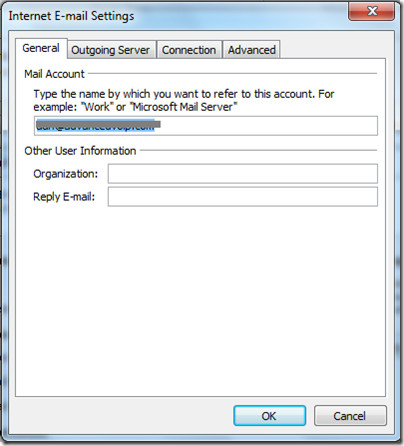
For more settings of your email account, click the More Settings button and anew dialog window will open. Now, under the General tab you can specify the name that appears on the previous menu’s listing, as well as your organization name and your reply email address.
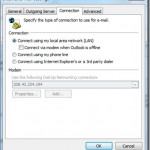
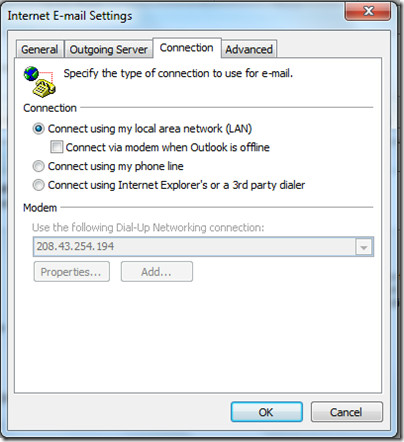
Under the Outgoing Server tab, you can instruct Outlook 2010 to use authentication when sending emails. When connecting through another service provider, you will want to have this checked. Otherwise it is unnecessary. The Connection tab lets you specify how Outlook 2010 will connect to the internet.
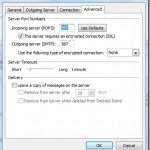
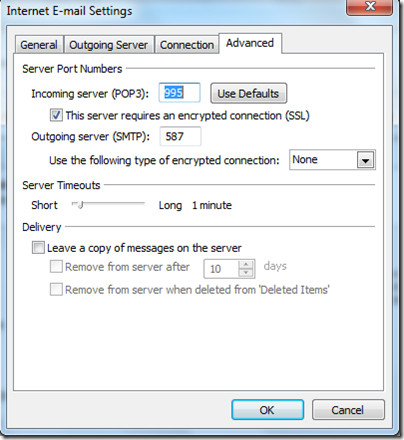
The Advanced tab lets you control the port and encryption settings for your account.
Outlook 2010 represents the most powerful and intuitive email client software with a rich set of features. Even though these settings could be found in Outlook 2007 as well, Microsoft has indeed improved Outlook 2010 to be more user friendly. Enjoy!
Comments are closed.

